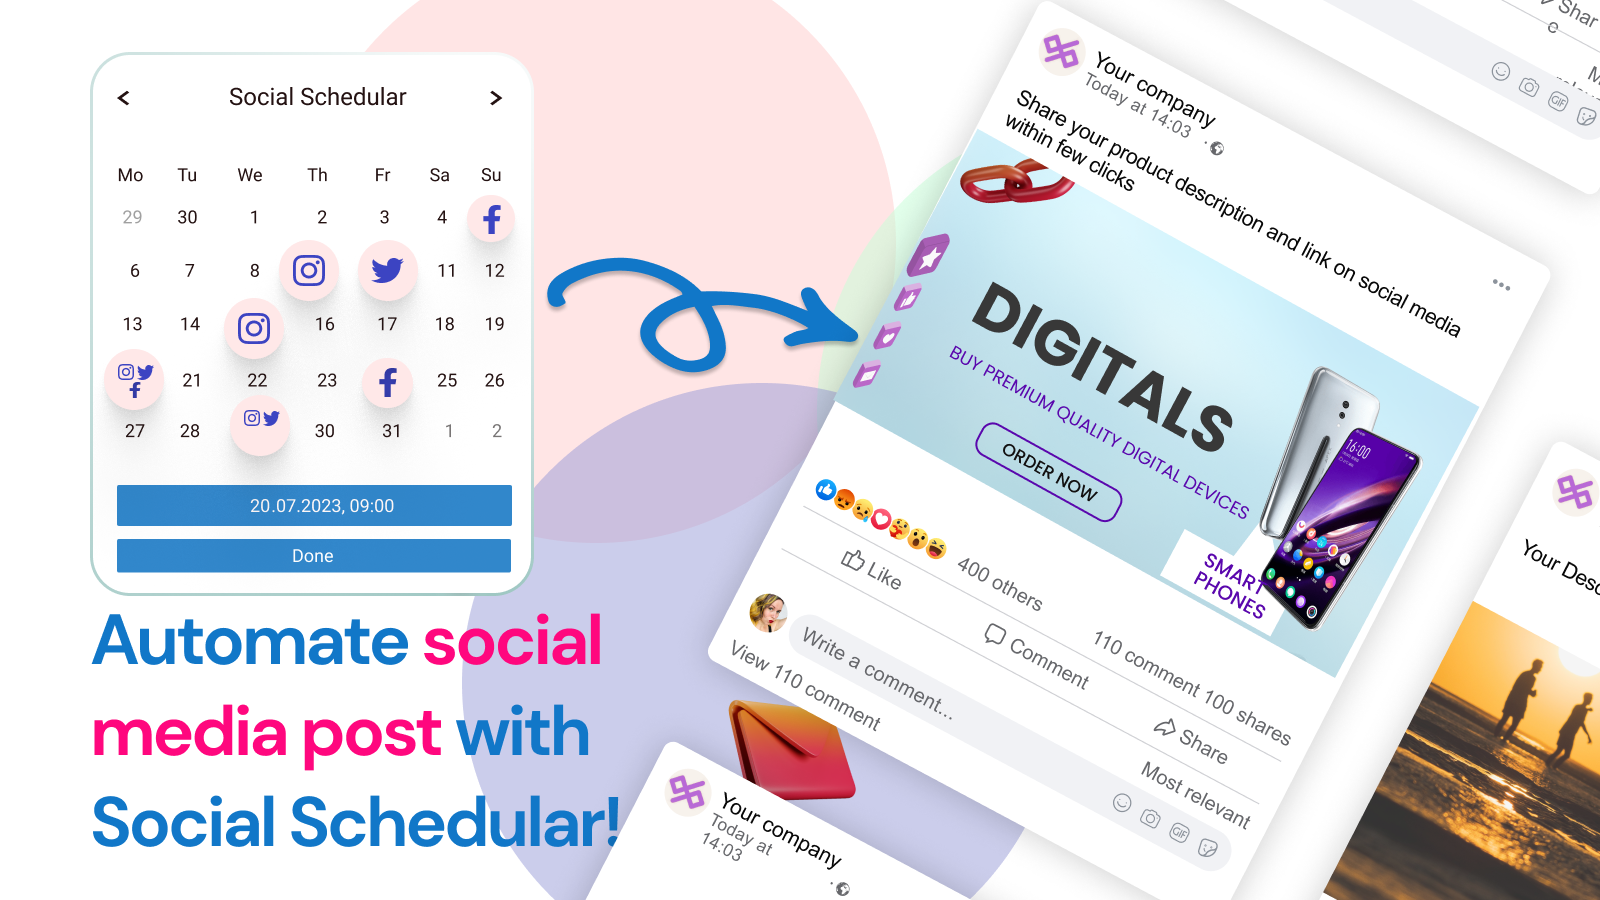
Do you have a Shopify store and want to save time on social media marketing? If so, you should consider using Social Schedular. Social Schedular is a Shopify social media scheduler app that can auto post your Shopify content to social media (Instagram, Facebook and Twitter), freeing up your time so you can focus on other aspects of your business.
Social media is a powerful tool for businesses of all sizes. It can help you connect with customers, build brand awareness, and drive sales. But managing multiple social media accounts can be time-consuming. That’s where Social Schedular a Shopify social media integration comes in.
Benefits of Using Social Schedular:
There are many benefits to using Social Schedular, including:
- Save time: Social Schedular can save you a lot of time by automatically posting your content to social media. This is especially helpful if you have a busy schedule or if you manage multiple social media accounts.
- Increase engagement: Social Schedular can help you increase engagement on your social media posts. When you post consistently and at the right times, you’re more likely to get people’s attention and encourage them to interact with your content.
- Improve reach: Social Schedular can help you improve your reach on social media. When you post at the right times and use relevant hashtags, you’re more likely to get your content seen by more people.
- Track your results: Social Schedular can help you track your results so you can see what’s working and what’s not. This information can help you improve your social media marketing strategy over time.
How to set Auto Post Social Schedular:
Once you Download the app you can start setup Auto Posts. Auto-posting on social media platforms is an effective way to maintain a consistent online presence and save time.
Let’s see how to use this app key features :

Before Scheduling auto post you need to connect at least one Social Media account. Learn more here on How to connect Social Media account?

Step 3: Select the product or products that you want to promote through your auto-post. You can choose one or multiple products to include in your post.Step 3: Select the product or products that you want to promote through your auto-post. You can choose one or multiple products to include in your post.

Step 4: Choose a Template or it will Pick a random template from Enabled templates Step 4: Choose a Template or it will Pick a random template from Enabled templates

Step 5: Select Interval Choose the frequency at which you want to schedule your auto-post. Social Schedular app allows you to schedule your posts daily, weekly, or monthly.Step 5: Select Interval Choose the frequency at which you want to schedule your auto-post. Social Schedular app allows you to schedule your posts daily, weekly, or monthly.

Step 8: Click on the “Save” button to schedule your auto-post. Your post will be automatically published on the selected social media platform as per the set interval.
How to create Social Media Template with Social Schedular?
Templates are an essential part of any social media strategy. They save time and help you maintain consistency in your posts. Social Schedular app allows you to create templates easily. In this article, we will discuss how to create a template on Social Schedular app.Templates are an essential part of any social media strategy. They save time and help you maintain consistency in your posts. Social Schedular app allows you to create templates easily. In this article, we will discuss how to create a template on Social Schedular app.
Step 1: Open the app and Go to Templates : You can either use the in-built templates provided by the app or create a new one. To use the in-built template, select the one that you like and customize it according to your needs. To create a new template, click on the Create New option.Step 1: Open the app and Go to Templates : You can either use the in-built templates provided by the app or create a new one. To use the in-built template, select the one that you like and customize it according to your needs. To create a new template, click on the Create New option.

Step 2: Add text for the template. It is a good idea to add hashtags to get more reach. You can also use dynamic tags such as Product title, Product price, Product Description, and Product vendor. Don’t forget to add your favorite emojis😄(:smile)

It will validate if you template is eligible to post on specific Social Media or not?It will validate if you template is eligible to post on specific Social Media or not?
Step 5: Save the Template Once you have created the template, click on the save option to save it. Your template is now ready to use.
Here are some additional tips for using Social Schedular to improve your social media marketing:
- Use relevant hashtags: When you post on social media, be sure to use relevant hashtags. This will help people find your content when they’re searching for specific topics.
- Post at the right times: Different social media platforms have different peak times when people are most likely to be online. Try to post at these times to maximize your reach.
- Use images and videos: Images and videos are more likely to be engaging than text-only posts. Use them whenever possible to capture people’s attention.
- Run contests and giveaways: Contests and giveaways are a great way to generate excitement and engagement on social media. Offer prizes that your target audience will be interested in, and make sure the rules are clear and easy to understand.
- Interact with your followers: One of the best ways to build a relationship with your followers is to interact with them. Respond to their comments and questions, and thank them for their support.
By following these tips, you can use Social Schedular to improve your social media marketing and reach more customers.